+86 13816508465
Pump Knowledge
Oct. 23, 2026
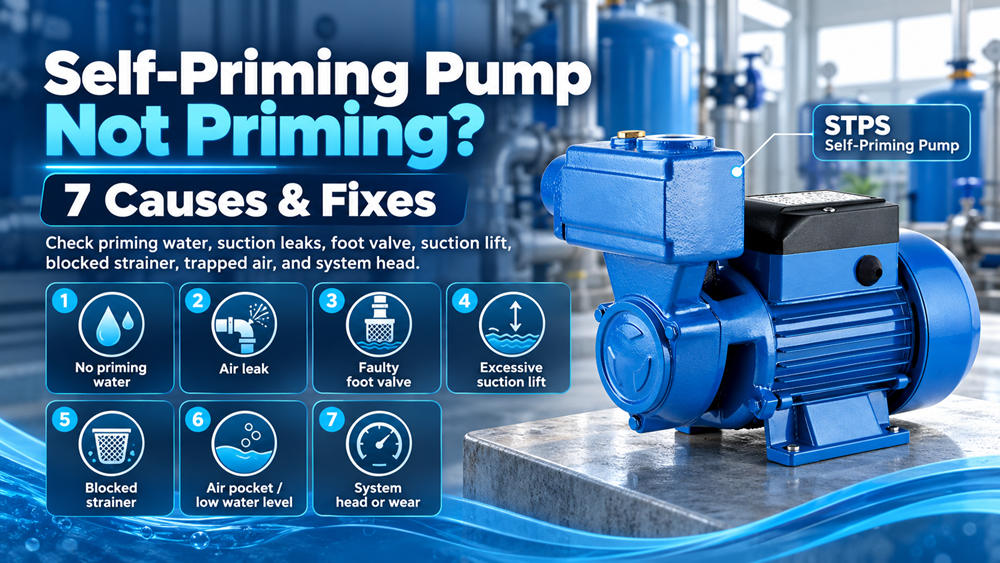
If a self-priming water pump runs but does not deliver water, start by checking whether the casing contains priming water, whether the suction pipe is airtight, and whether the suction inlet remains submerged. A faulty foot or check valve, excessive suction lift, blocked strainer, trapped air or an unsuitable operating point can also prevent priming. Stop the pump if it is not establishing flow; continued dry operation can damage the seal and hydraulic components.
This practical checklist is intended for clean-water surface pump installations such as storage tanks and garden supply systems. It helps buyers and installers identify likely system faults before replacing the pump.
| Symptom | Likely issue | First check |
|---|---|---|
| Motor runs; no water comes out | No prime, suction air leak or blocked inlet | Water in casing; suction seals; strainer |
| Works after filling, fails next day | Prime drains away | Check/foot valve and leaking joints |
| Initially pumps, then loses flow | Falling tank level or air entering inlet | Running water level and suction submergence |
| Low, unstable flow with unusual noise | High suction loss, air or possible cavitation | Lift, pipe size, bends and obstruction |
“Self-priming” does not mean “safe to run dry.” Many self-priming surface pumps need water retained in their hydraulic chamber before they can clear air from the suction line. Action: Switch off and isolate the pump, let it cool, then fill and vent the casing exactly as instructed by its manufacturer. Check for leakage before restarting.
Loose threaded joints, cracked hoses, poor gaskets or leaking connections may pull air into a suction line even without an obvious external water leak. Action: Inspect all suction-side fittings, seals and flexible sections; repair leaks and use the sealing method recommended for the connection.
If water drains back after shutdown, the next startup may take too long or fail. A worn, jammed or contaminated valve can cause this. Action: Check whether the suction line retains water between starts; clean or replace faulty components. Confirm whether the pump has an integrated valve before adding external fittings.
The difference between the pump inlet and the lowest operating water level matters more than the tank's nominal height. Friction losses, temperature, altitude and available inlet pressure also affect priming. Action: Measure the actual lift, shorten unnecessary suction runs and locate the pump closer to the source if possible. Never treat the maximum rated suction depth as a guaranteed result under all conditions.
Debris in a strainer, a partially closed valve, an undersized pipe or a collapsed hose can reduce inlet pressure and prevent stable flow. Action: Isolate the system and inspect the strainer, valves and suction pipe. Remove obstructions and confirm the pipe is properly sized for the required flow.
A tank can appear full while the inlet is insufficiently submerged during pumping. High points in the suction line can also trap air. Action: Check the water level while running, place the inlet at an appropriate depth and revise pipe routing to reduce air pockets and unnecessary high points.
If suction checks pass, the pump may still be unable to meet the system's required flow and total head, or the impeller and seals may be worn or damaged. Action: Compare the duty point with the model's performance curve and ask qualified personnel to inspect the pump if internal defects are suspected. Do not dismantle an energized or pressurized pump.
Stop the pump safely. Disconnect electrical power, isolate pressure and allow hot components to cool.
Verify the water source. Check that the inlet remains adequately submerged at the lowest operating level.
Check the prime. Fill and vent the casing following the specific manual.
Check suction tightness. Inspect pipe joints, seals, hose condition and valves.
Check restrictions. Clean the suction strainer; confirm valves are open and the pipe is unobstructed.
Check geometry. Measure vertical suction lift and review pipe length, bends and high points.
Test within limits. Restart only according to the manual. If flow does not establish promptly, stop and request qualified assistance.
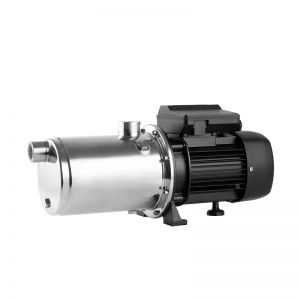
The Stream STPS self-priming peripheral pump series is designed for compatible clean-water applications and includes a built-in flap-check valve. Its published maximum suction depth is up to 9 m under suitable conditions; this is a maximum specification, not a recommended installation target.
| STPS model | Power | Max. flow | Max. head |
|---|---|---|---|
| STPS60 | 370 W | 35 L/min | 36 m |
| STPS70 | 550 W | 45 L/min | 55 m |
| STPS80 | 750 W | 46 L/min | 65 m |
Source: Stream STPS published specifications. Maximum flow and maximum head are not simultaneous operating values; check the Q–H curve and actual installation conditions for model selection.
Before requesting a replacement pump, provide these installation details: pump model and voltage; source type; vertical distance from the lowest water level to pump inlet; suction pipe diameter and approximate length; number of bends and valves; check/foot valve arrangement; water condition; delivery height; and the exact symptom after startup. Photos of suction piping and a short video of the issue can help clarify the installation.
Explore the Stream product catalogue, or contact Stream Pumps with your duty requirements and installation details.
Many self-priming pumps do. Follow the specific model's instructions for filling and venting; self-priming is not the same as dry-running capability.
A leaking foot or check valve, loose suction connection, or other path that allows water to drain back can explain repeated loss of prime. Check water retention after shutdown.
Not necessarily. Air leaks, inadequate submergence, excessive suction lift and blocked piping should be corrected first. Select a different pump only after verifying actual flow and head requirements.
When a self-priming pump fails to deliver water, check the priming water, suction airtightness, inlet water level and pipe condition before replacing the unit. A documented troubleshooting sequence helps buyers distinguish installation faults from pump selection or mechanical problems.
Pump troubleshooting principles: NSW Department of Primary Industries and Regional Development — Selecting an Irrigation Pump. Product-specific details: Stream STPS Product Guide.
General guidance only. Follow the installation manual, electrical safety requirements and instructions for the exact pump model.
Address
No.17 XeDa Jimei Ind. Park, Xiqing Economic Development Area, Tianjin, China
Telephone
+86 13816508465
QUICK LINKS